Scheduling a Report
Reports can be scheduled to be generated once or on a recurring basis such as daily, weekly, bi-weekly, monthly, etc. For example, a report can be scheduled to generate every two weeks, on the same day of the week or every three months, on the same day of the month.
If an error occurs and a scheduled report is not generated, a warning indicator ![]() will appear beside its name in the Scheduled section of Propel Rx Reports.
will appear beside its name in the Scheduled section of Propel Rx Reports.
For a quick demo on scheduling a report, watch the video below.
To schedule a report:
-
Dropdown the applicable header on the left and select the report.
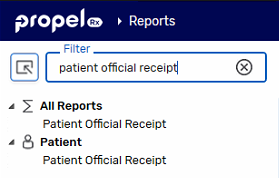
Enter the report name in the Filter field and press Enter on your keyboard to quickly locate it.
-
Enter report criteria, if needed.
-
Select the Schedule action button at the bottom. The Schedule Report window opens.
-
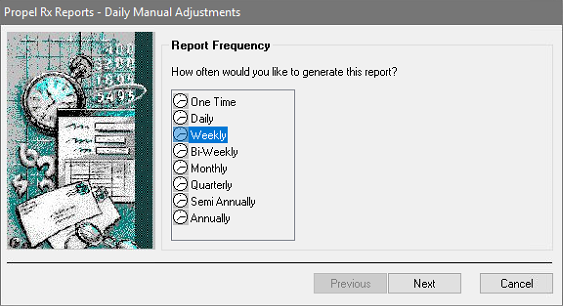
To specify the report frequency, highlight the frequency you want to generate the report and then select Next.
-
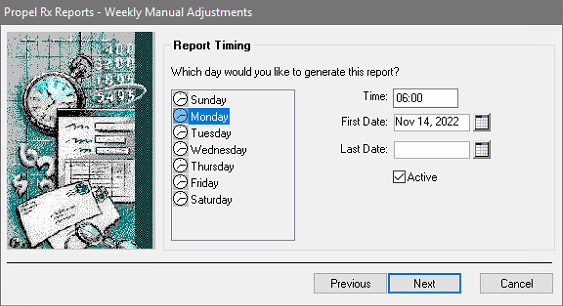
To specify the report timing:
-
If generating a Weekly, Bi-Weekly, or Monthly report, select a day on the left hand side.
-
If required, change the Time.
-
Enter the Start Date that the report will be generated. If generating a One Time report, select the Run Date for the report.
-
Optional: Enter the End Date for the report.
Once the End Date is reached, the report will remain in the Scheduled Reports list with an Expired indicator.
Select Next.
-
-
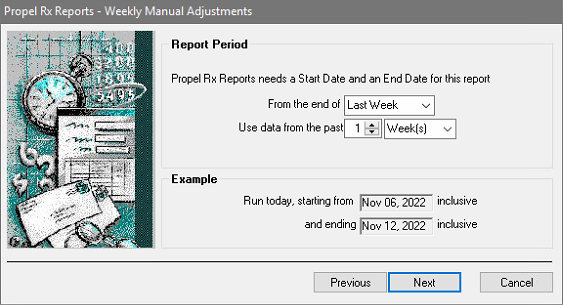
Some reports will require a report period to be specified. Make selections from the dropdown lists to choose a report period and then select Next.
-
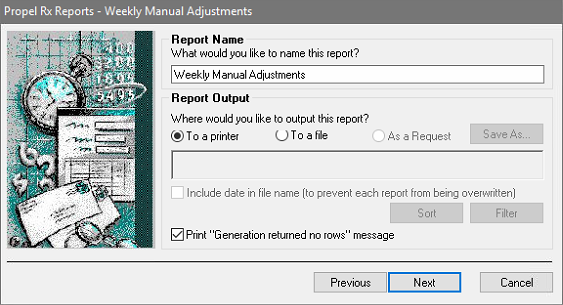
To specify the report name and output:
-
If desired, update the Report Name.
-
Select a Report Output option.
-
Some reports provide the ability to set custom Sort and Filter options. Enter these options if required.
Select Next.
-
-
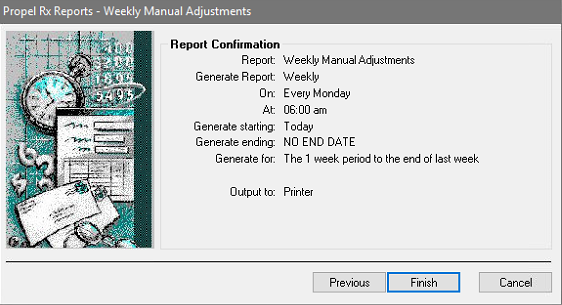
Review the information in the Report Confirmation window.
If you want to make changes, select Previous to return to the previous windows and make changes.
-
Select Finish. The window returns to the report. Enter any additional report criteria if required and select Sort Options if available for the scheduled report.
-
Select Save.